Photography Tech Notes
< View Photography Blog View Photo Manipulation Page >
Subjects covered on this page: Layers in Photoshop, Image Retouching, Flash Fill Test, High Speed Sync, Shift Lens Notes,
The Great RAW vs JPG Shootout, In Camera HDR, Wide Angle Lens Distortion, Compare Depth Of Field, Compare 3 lenses
Nikon 24mm Lens Field of View
Compare Sony A6000 and Nikon D600 Full Frame
Compare Sony A6000 and Nikon D600 Full Frame
  |
At left A6000 Camera Field of View At right D600 Camera

Layers in Photoshop
Click To Enlarge
Base Layer

|
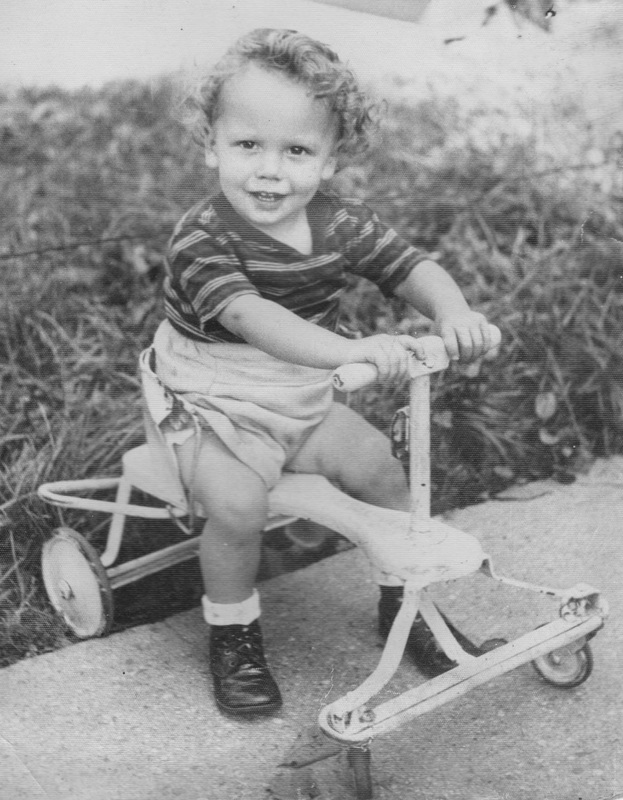
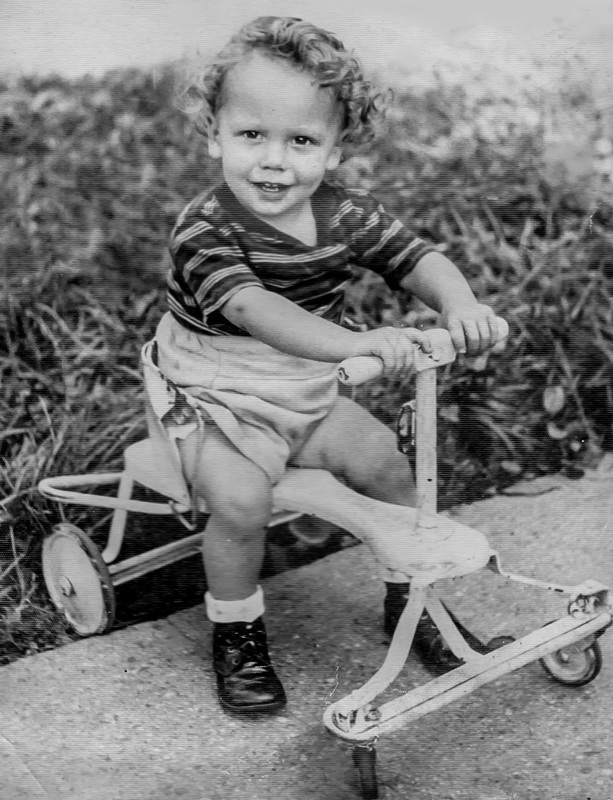
Image Retouching
This is me at age two. The original image at left was adjusted
in Photoshop and Lightroom at right. |

|
Flash Fill Test
Flash Fill is very useful when shooting a subject that has the sun behind the subject. Or to fill in shadows cast by the sun which is above and into the face of subject. The flash also adds a catch-light to the eyes.
|
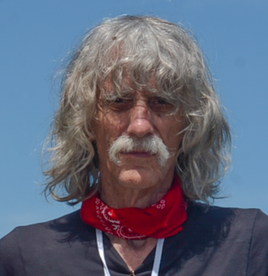
In the test above the Fill-Flash unit was placed at about a 45 degree angle on the subject's right at a distance of about 3 meters reflecting into a small fan reflector. Flash intensity was set to about 1/8 of full power.
It is very hard to get flattering images of people, especially exposed skin area, in bright sun situations. Most unforgiving is noon-day sun right overhead which cause nasty shadows that accentuate unflattering things such as wrinkles. So it's far easier to get nice images of people either very early in the morning or in the evening when the sun is low in the sky in a more direct angle to the human subject. Here is when Flash-Fill can be helpful. Expose manually for the background then use Flash-Fill to fill harsh shadows. Be careful not to overdo the fill light. And either use a reflector or make sure the flash is not too close to subject so the light is not too intense in the centre of subject. In my example above I had the off-camera flash a bit too close to the subject in the left image. Also be sure to zoom the flash unit to a wide angle. Warning: the use of Flash-Fill can be overdone as demonstrated below
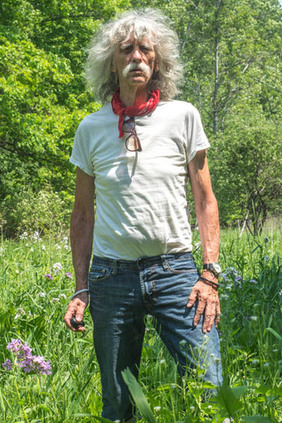
In low light situations
such as the woods shots above blurring can also be a problem because of long exposure times. Also the low light will require large lens openings that result in short depth-of-field. A blurred background here may be desirable but this also makes focusing difficult. Another problem in shooting in the woods without flash is the shadows cast by branches. So I find that in shaded woods like this it is better to use Flash-Fill but be carefull to keep the flash intensity low or the images will look unnatural. I find the best solution is to meter for the background and use a low intensity Flash-Fill. |


Click To Enlarge
|
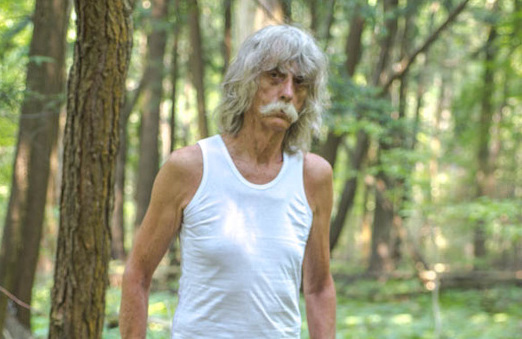
High Speed Sync
Here is how to blur backgrounds in bright sun. Flash units that are High Speed Sync capable such as the Nikon SB600 can be used in bright light such as in daylight using a high or very high shutter speeds. HSS capable flash units can be used to allow higher than the normal flash sync limit of most cameras. This lets me use a fast shutter speed which allows a big lens opening which gives me a shallow depth of field which is usually desirable for portraits. Otherwise my Nikon D600 is limited to no higher than 250/sec. HSS is very useful when shooting a subject that has the sun behind the subject. Or to fill in shadows cast by the sun which is above and into the face of subject. The flash also adds a catch-light to the eyes. To control my SB600 off camera I use the Yongnuo 622N-TX trigger which is HSS capable. This image was taken with Nikon USB600 and 50mm lens at f2.8 and a shutter speed of 1/2000 of a second. |

Shift Lens Notes

This is mostly a special purpose lens. Notice that when the lens is shifted fully in one direction (B) it makes the feet small and the head appears large. When fully shifted in the other direction (A) the feet look too large and the head too small and this looks really bad. I'm not sure but I think in a way I like (B) better than the no-shift shot at left.
|
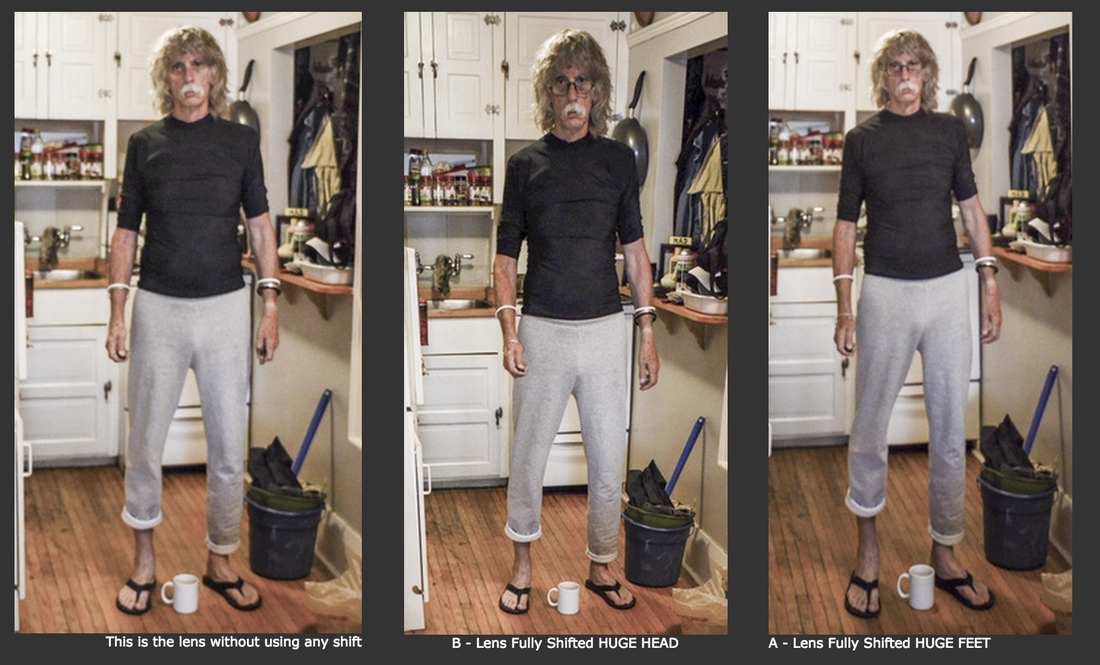
Here are some tests using the Nikon 28mm f3.5 PC perspective control lens marketed between 1980 and 2006. This lens has a shift function only. There is no tilt function (which is useful to increase depth of field especially when subjects are close-up). This lens is good for special effects and also useful for correction of convergence in architectural photography. Here are some examples showing the lens without shift as well as when the lens is shifted at both extremes.
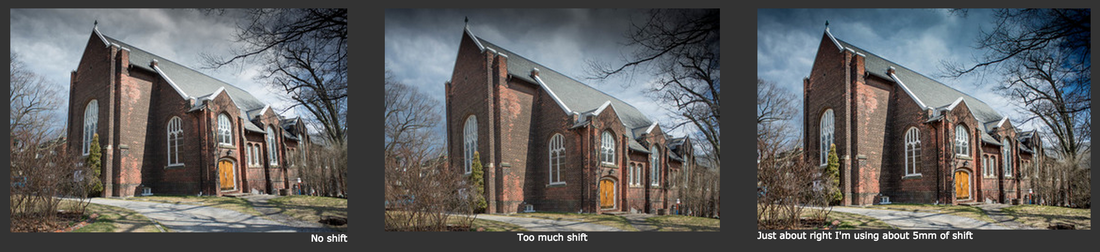
I think the 28mm shift lens is very useful for buildings such as this church. Sure this can be done in Photoshop or Lightroom but I think making use of the shift lens will be less destructive of pixels.
|

|
The Great RAW vs JPG Shootout 

|


|
More RAW vs JPG
This test compares the same scene using different formats.
The RAW and JPG look about the same here.
Here are crops of the above JPG and RAW images
Conclusion of this test: RAW or JPG inconclusive More RAW vs JPG Night Scene UsingHigh ISO 2500
RAW images f2.5 @ 1/125 @ ISO 2500 85mm lens.
In this test I find the RAW versions truer colourwise, but not by much. Notice on the cropping of the two girls at the back of the restaurant: In Lightroom I have worked a lot on these highly cropped images, both RAW and JPG versions -- I have tried to maximize sharpness in both RAW and JPG versions.
JPG images f2.5 @ 1/125 @ ISO 2500, 85mm lens
Conclusion of this test: RAW or JPG inconclusive |


|
In-Camera HDR In Camera HDR (High Dynamic Range) can be useful when there is a lot of contrast in the scene in the case in landscapes, and when shooting buildings in shadow against a bright sky. However there really is no point of using the in-camera HDR for many situations. Even using a fast shutter speed, like 1/1000, and moving part of an image will be a bit blurred. The leaves on trees will blur especially because they are moving a little between the two HDR exposures. I find that Lightroom provides the tools to give enough High Dynamic Range in most images. HDR is often over used to the point that the image looks unnatural. |

|
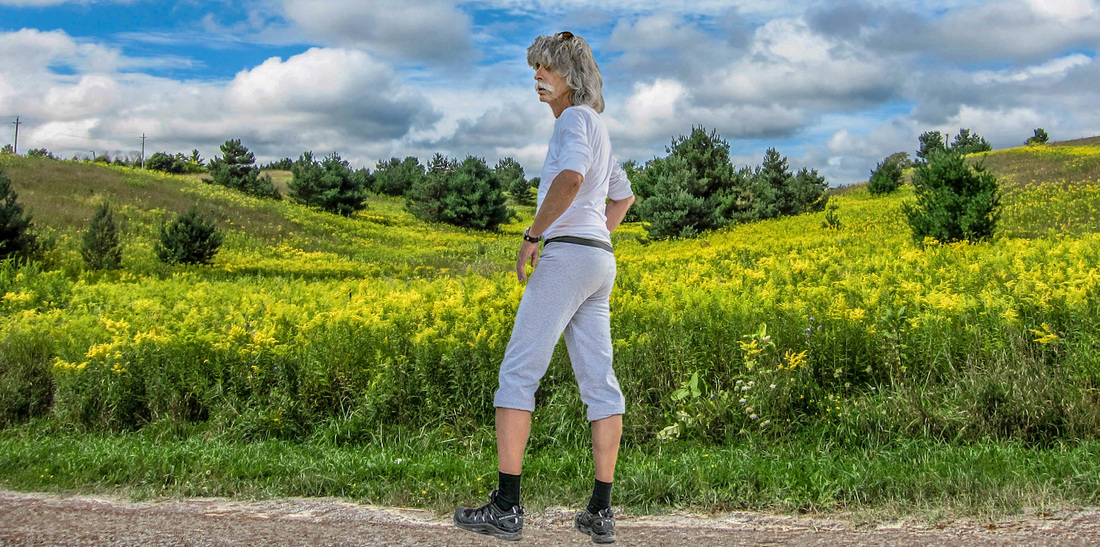
Wide Angle Lens Distortion
|


|
Compare Depth Of Field
Zoom Lens set at 300mm 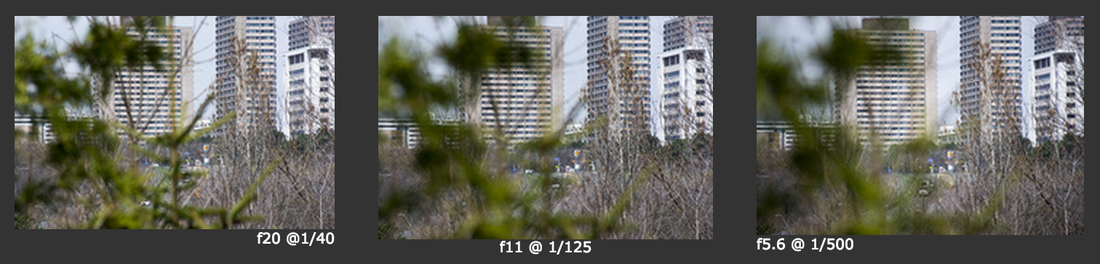
Click To Enlarge
Observations: The f20 image on the left required a tripod because of a slow shutter speed of 1/40. Notice the much smaller depth of field with the lens at 300mm compared to the larger depth of field when the lens is set to 70mm.
Zoom Lens set at 70mm 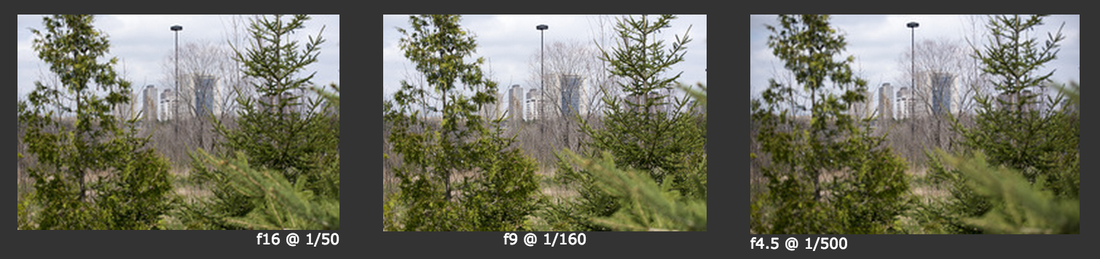
Click to Enlarge
Observations: The f16 image on the left required a tripod because of a slow shutter speed of 1/50. Notice the much larger depth of field with the lens at 70mm compared to the shallower depth of field when the lens is set to 300mm.
Auto ISO Use Auto ISO in many situations especially on sunny days around tall buildings and cast shade. |

|
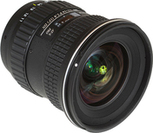
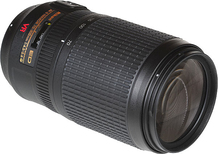
Compare 3 lenses Tokina 11-16mm 
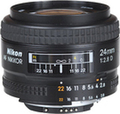
Nikon 24mm 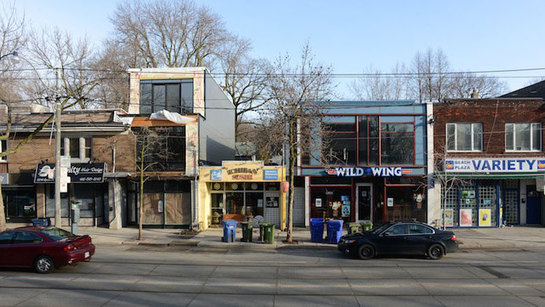
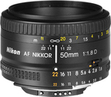
Nikon 50mm 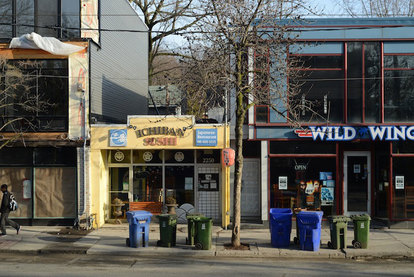

|